Light gauge steel studs are cold-formed, non-load-bearing framing members used for interior partitions and ceilings. They deliver straightness, speed, and consistent quality compared to wood, helping builders avoid rework. For teams sourcing from our Vaughan, ON facility, Dass Metal Products manufactures and supplies these studs with tight tolerances and dependable delivery.
By Navjot Dass — Dass Metal Products
Last updated: 2026-05-07
Overview
This guide explains light gauge steel studs from definition to installation: why they matter, how they work, types and accessories, code-ready details, and field-proven best practices. Use it as a practical playbook to spec, order, stage, and install non-structural studs with fewer change orders and smoother inspections.
Use this complete, practical guide to plan, specify, and install with confidence. It’s written for superintendents, project managers, estimators, and drywall/framing contractors who can’t afford delays.
- Clear definition of light gauge steel studs and where they fit
- Why steel framing beats wood for many interiors
- How the system works: studs, tracks, channels, clips
- Sizes, gauges, spacing, and common code checks
- Top field mistakes to avoid on Day 1
- Tools, resources, and site logistics tips for tighter schedules
For additional context on framing fundamentals, see our internal perspective in What Is Light Gauge Steel Framing?.
What are light gauge steel studs?
Light gauge steel studs are cold-formed, zinc-coated steel members used primarily for non-load-bearing interior partitions, soffits, and ceilings. They’re manufactured in standard heights, widths, and gauges, offering straightness, speed, and predictable performance with typical spacing at 16 or 24 inches on center for drywall attachment.
When we talk about light gauge, we’re describing non-structural studs formed from thin sheet steel. They’re designed for partitions, not primary gravity loads.
- Cold-formed steel (CFS): Sheet steel is roll-formed at room temperature into C/U shapes.
- Corrosion protection: Galvanized (zinc-coated) steel resists rust in conditioned interiors.
- Common widths: 1-5/8 in., 2-1/2 in., 3-5/8 in., 6 in. (41, 64, 92, 152 mm).
- Typical gauges (mils): 25 ga (18 mil), 20 ga (33 mil), 18 ga (43 mil), 16 ga (54 mil).
- Spacing: 16 in. o.c. is most common; 24 in. o.c. for lighter finishes or with design approval.
- Use cases: Office demising walls, corridors, patient rooms, retail build-outs, schools.
In our experience, 3-5/8 in. 25 ga studs at 16 in. o.c. handle most tenant interiors up to ~10 ft high when combined with 1/2 in. or 5/8 in. drywall. Taller walls, heavier finishes, or openings often drive heavier gauges or closer spacing.
For a deeper comparison of systems, browse our in-house article Steel Studs: Know When They Beat Wood.
Why light gauge studs matter in modern interiors
Light gauge studs improve speed, straightness, fire resilience, and acoustic consistency versus wood. They arrive dimensionally accurate, reduce callbacks, and support modern assemblies like resilient channels and deflection details—key to meeting high-traffic, healthcare, and education performance requirements with fewer schedule surprises.
Why this matters on your job:
- Straightness and stability: Steel doesn’t warp or shrink, so finish work stays flatter over time.
- Faster layout: Pre-punched web holes streamline MEP running and reduce drilling time.
- Predictable acoustics: Paired with resilient channel, many walls gain 5–10 STC points.
- Fire-friendly assemblies: Most UL-rated interior partitions rely on steel framing.
- Clean logistics: Bundled, labeled studs speed counting, hoisting, and staging.
Teams often report fewer punchlist defects when switching from wood. For reference, corridor walls typically run 3-5/8 in. studs at 16 in. o.c.; adding resilient channel, a 2-layer 5/8 in. board, and insulation can materially increase STC while maintaining a slim footprint.
For context on safety and performance themes, see our broader lens in Why Steel Framing Matters for Safer Builds.
How a light gauge steel stud system works
A light gauge wall uses C-shaped studs friction-fit between U-shaped tracks at floor and ceiling. Bridging channels restrain twist, resilient channels decouple drywall, and deflection tracks allow slab movement. Screws attach gypsum board with typical edge spacing of 8 inches and 12 inches in the field.
Think in assemblies—studs, tracks, and accessories tuned to your wall’s job.
- Studs + tracks: C-studs slide into U-tracks; standard leg tracks offer 1-1/4 in. flanges.
- Deflection track: Slotted top tracks allow up to 1 in. vertical movement at slabs.
- Bridging/carrying channel: Installed every ~4 ft to control stud rotation and vibration.
- Resilient channel (RC-1 type): Mounted perpendicular to studs to improve acoustics.
- Fasteners: #6 or #8 self-drilling screws commonly used for metal-to-metal.
- Drywall screw pattern: Edges ~8 in. o.c.; field ~12 in. o.c. (verify assembly requirements).
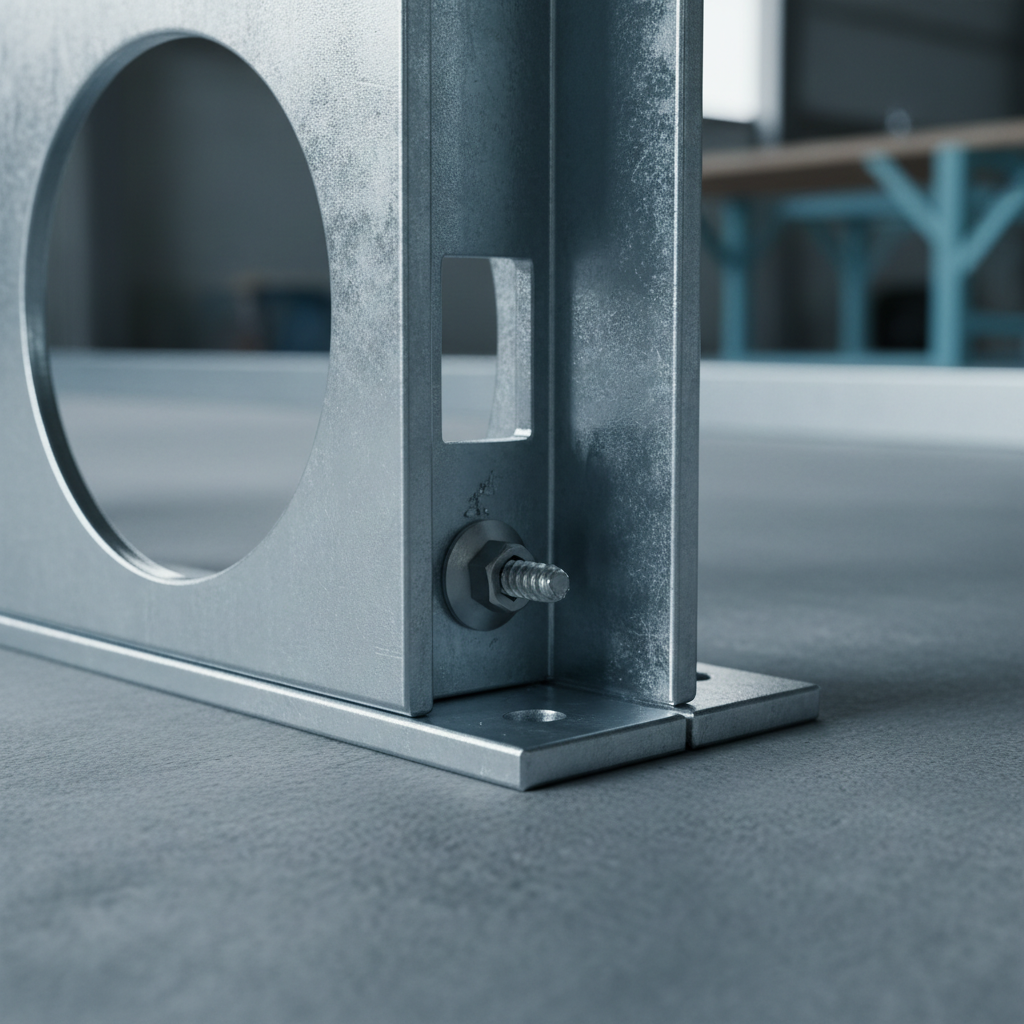
Below is a close-up view that highlights how the stud seats in track and where screws typically land during board installation.
Want a structured walkthrough? Our practical explainer on drywall framing mistakes maps the sequence from layout to board.
Types, sizes, and key components
Choose stud width by cavity needs, gauge by height and loading, and track type by movement and acoustics. Standard track works for typical partitions, slotted deflection track manages slab movement, deep track increases stiffness, and accessories like bridging channel and resilient channel tune performance.
Core components you’ll specify
- Studs (C-shape): Non-structural, typically 25–20 ga for interiors. Common widths 1-5/8 in. to 6 in.
- Standard track: U-shape with ~1-1/4 in. legs for typical top/bottom conditions.
- Slotted deflection track: Slots at top flange to accommodate vertical movement.
- Deep track: Taller legs for added engagement and stiffness at top/bottom.
- Bridging/carrying channel: Controls stud roll; often set at mid-height and 4 ft spacing.
- Resilient channel: Decouples gypsum to improve STC and dampen vibration.
- Clips and connectors: Webslide clip, deflection side clip, bridging clips for fast attachment.
Comparison: gauges, heights, and typical use
| Gauge (Mil) | Typical Max Height (No Load) | Common Spacing | Typical Uses |
|---|---|---|---|
| 25 ga (18 mil) | ~9–10 ft (with 1 layer 1/2–5/8 in. gypsum) | 16 in. o.c. | Tenant interiors, offices, quick partitions |
| 20 ga (33 mil) | ~12–14 ft (conditions dependent) | 16 in. o.c. (or 24 in. o.c. where allowed) | Corridors, higher walls, door openings |
| 18 ga (43 mil) | ~14–16 ft (conditions dependent) | 16 in. o.c. | Tall walls, heavy finishes, impact zones |
| 16 ga (54 mil) | 16+ ft (engineer review) | 16 in. o.c. | Very tall interiors, shafts (with CH/shaftwall systems) |
Note: Always confirm wall height tables and assembly specifics. Our team can review your layout and recommend spacing, gauge, and accessories based on drawings and finish schedule.
Explore our non-load-bearing catalog here: light gauge steel framing products.
Accessories and finishing sections (quick picks)
- Furring channel: Create level planes over uneven substrates or for ceiling grids.
- U-Flex track: Frame curves, arches, and radiused bulkheads cleanly.
- Cornerbead (90°/130°): Armor external corners and speed finishing.
- L/J trims and J track: Clean terminations at openings and material transitions.
- Windbrace: Stiffen long runs against drift and service loads.
Take a broader systems view in our internal roundup What Is Steel Stud Size? to avoid wrong orders and delays.

Best practices and the mistakes to avoid from Day 1
To avoid costly rework, verify stud gauge versus clear height, use deflection track under moving slabs, brace mid-height with bridging, and stage labeled bundles by zone. Common errors include mixing gauges, skipping acoustical details, and fastening through deflection slots—each can trigger inspection delays.
Field-proven best practices
- Match gauge to height: Use height tables; 25 ga ≈ 9–10 ft, 20 ga ≈ 12–14 ft.
- Control movement: At concrete slabs, slotted deflection track prevents board cracking.
- Brace rotation: Bridging every ~4 ft keeps studs plumb during boarding.
- Plan acoustics early: RC-1 with insulation can add 5–10 STC points.
- Door and opening reinforcement: Double jamb studs with track headers for durability.
- MEP coordination: Use pre-punched holes; keep cuts 12 in. from ends minimum.
- Fastener discipline: Use #6/#8 screws; observe 8 in. edge, 12 in. field patterns.
Frequent mistakes that stall inspections
- Fastening through deflection slots: This defeats the movement joint and can crack finishes.
- Mixing gauges in a run: Creates uneven stiffness; document and stage by color code.
- Skipping bridging: Leads to stud roll and wavy finishes over 12+ ft spans.
- Ignoring door hardware loads: Heavy closers demand doubled jambs and added blocking.
- Missed acoustical sealant: One unsealed base track can drop STC several points.
- Uncoordinated penetrations: Oversized cutouts near ends weaken studs—plan MEP routes.
Looking for a condensed playbook? Our team compiled a practical checklist in Drywall Framing: Avoid Costly Mistakes.
How to plan and execute a clean installation
Lay out control lines, anchor bottom track, use slotted top track below slabs, install studs plumb at 16 or 24 inches on center, add bridging, coordinate MEP, then hang drywall with correct screw spacing. Seal perimeters for acoustics and leave deflection clearance at the head.
Step-by-step sequence
- Layout: Snap lines; verify clear heights at 20–30 ft intervals; note slab camber.
- Bottom track: Anchor at manufacturer spacing; continuous sealant for acoustics.
- Top track: Use slotted deflection track under moving slabs; cap with fire/sound sealant as specified.
- Stud installation: Friction-fit studs at 16 or 24 in. o.c.; crown consistent direction.
- Bridging: Install at mid-height and every ~4 ft vertically for tall walls.
- Openings: Double jamb studs; use track headers; verify rough opening dimensions.
- MEP coordination: Route through web punch-outs; add grommets for cable protection.
- Boarding: Maintain 8 in. edge, 12 in. field screw spacing; stagger joints.
- Head-of-wall: Maintain required gap for deflection; avoid hard connections.
- Sealants and trims: Apply acoustical sealant; install J/L trims and cornerbeads.
Need a structural framing refresher to compare with heavier systems? Skim our internal overview Safer Builds in 2026 for context.
Get a fast, accurate takeoff. Share your wall heights, finishes, and schedule. Our engineers (40+ years in steel framing) will recommend gauges, tracks, and accessories to shorten your path to inspection. Start with our light gauge stud lineup.
Tools, resources, and ordering tips
Use height tables, manufacturer datasheets, and assembly details to pick stud gauge, spacing, and head-of-wall conditions. Organize orders by zone and gauge, label bundles for each floor, and confirm delivery windows to reduce crane time and double-handling.
Specification resources to keep handy
- Manufacturer load/height tables: Match gauge to height and finish weight.
- Assembly details: Deflection, head-of-wall firestopping, and resilient channel layouts.
- MSDS and standards: Keep submittals ready for inspector and GC records.
- Accessories matrix: Map clips, channels, and trims to each wall type.
Ordering and logistics
- Order by zone: Reduce site clutter; stage by sequence. Many crews save hours per floor.
- Color-code gauges: Prevents mixing 25 ga and 20 ga in the same run.
- Bundle labels: Include wall type, gauge, and destination (e.g., L3-East-Corridor).
- Delivery windows: Coordinate hoisting; plan for 1–2 hour offload to cut crane standby.
Prefer to benchmark against a structural approach? See this external perspective: structural metal stud framing guide.
Local considerations for 370 New Enterprise Way
- Seasonal humidity swings in the Vaughan area can affect drywall curing; plan for 40–50% RH during finishing to keep joints stable.
- Winter deliveries often face tighter time windows; confirm indoor staging so bundles aren’t exposed to snow or salt during offload.
- For regional inspections, have submittals organized: stud gauge tables, deflection details, and acoustical notes speed approvals.
Mini case studies and real-world examples
On recent Ontario and cross-border projects, teams cut rework by pairing 20 ga studs with slotted deflection track, adding mid-height bridging, and sequencing deliveries by zone. These simple moves stabilized tall corridors, protected head-of-wall joints, and kept inspections on schedule.
Healthcare corridor (Ontario)
- Challenge: 12–14 ft corridors with heavy traffic and impact risk.
- Approach: 20 ga studs at 16 in. o.c., deep track at base, bridging every 4 ft, double layer 5/8 in. board.
- Result: Straighter walls, fewer corner repairs, clean inspections at first pass.
Office tenant improvement (GTA)
- Challenge: Fast schedule, multiple demising walls, mixed acoustical needs.
- Approach: 25 ga studs for typical offices; RC-1 and insulation at conference rooms; slotted head-of-wall at slab edges.
- Result: On-time turnover; STC targets met; minimal punchlist.
Education retrofit (cross-border support)
- Challenge: Tall partitions under moving concrete slabs in an older building.
- Approach: 18 ga studs at 16 in. o.c.; slotted deflection track; door jamb doubling with track headers.
- Result: Head-of-wall cracking eliminated; hardware functions smoothly; improved durability.
For reinforcement beyond studs—like grids or masonry interfaces—our affiliated resources on steel reinforcement can help contextualize connection details. See a complementary explainer on rebar stirrups and a quick primer on rebar fabrication.
Frequently Asked Questions
These quick answers cover the most common questions contractors ask about light gauge steel studs, from spacing and gauges to acoustics and deflection. Each is concise enough to verify during layout or submittals and points to practical actions you can take today.
What spacing should I use for light gauge studs?
Most partitions use 16 inches on center for strength and flat finishes. Some assemblies permit 24 inches on center, especially with lighter finishes or specific board types. Always confirm against height tables and the wall assembly you’ve specified.
When do I need slotted deflection track?
Use slotted deflection track anywhere a slab above can move—especially near building edges, long spans, or areas with temperature swings. It allows vertical movement (often up to about 1 inch) without binding the wall or cracking finishes at the head.
Do resilient channels really improve acoustics?
Yes. Properly installed resilient channel decouples the drywall from studs and can add measurable STC points to the assembly. Pair it with cavity insulation and sealed perimeters for best results. Follow the channel manufacturer’s orientation and screw placement rules.
What gauge should I order for 12–14 ft walls?
Many 12–14 foot interior walls perform well with 20 gauge studs at 16 inches on center, plus bridging. Door openings or heavy finishes may require adjustments. Verify with height tables and your assembly details before ordering.
How do I prevent stud rotation during boarding?
Install bridging or carrying channel at mid-height and at regular intervals (often every 4 feet for tall walls). This restrains twist, keeps studs plumb, and helps produce flatter drywall finishes.
Key takeaways and next steps
Specify the right gauge for height, use slotted deflection at moving slabs, add bridging to control rotation, and plan acoustics from the start. Label and stage materials by zone to avoid mixing gauges and losing time. These basics prevent rework and keep inspections predictable.
- Right gauge, right spacing: Match to height and finishes using tables.
- Movement and acoustics: Deflection track plus RC-1 where needed.
- Openings reinforced: Double jambs and track headers for durability.
- Disciplined logistics: Order by zone; label bundles to prevent mix-ups.
Ready to move from submittals to staging? Explore our light gauge steel studs or review fundamentals in our framing guide before the site walk.
