

Light gauge metal framing details are the profiles, connections, and tolerances that govern how cold-formed steel studs, tracks, channels, clips, and fasteners assemble into walls and ceilings. In the United States, clear detailing sets stud spacing, head-of-wall movement, and bracing patterns. Done right, it prevents cracks, accelerates installation, and delivers straighter, quieter interiors.
By Navjot Dass • Last updated: 2026-06-29
Quick Summary
Successful light gauge framing hinges on repeatable details: match stud gauge to height, choose standard or deep track appropriately, allow head-of-wall movement with slotted deflection track or clips, and add bridging to control twist. Where acoustics matter, use resilient channel correctly. Clear submittals and sequencing reduce rework and keep finish tolerances tight.
Use this complete guide to plan non-load-bearing interior framing with confidence. We’ll define the system, explain why the details matter, show how assemblies go together, and share best practices and checklists. Throughout, we reference Dass Metal Products’ Canadian-made studs, tracks, channels, and trims—backed by engineering resources, load tables, and custom profiles for projects across the United States and Canada.
What Is Light Gauge Metal Framing?
Light gauge metal framing is a cold-formed steel system for non-load-bearing walls and ceilings. It combines C-shaped steel studs with U-shaped track, clips, and channels—typically 25 to 16 gauge—to create straight, plumb partitions. The approach speeds rough-in, delivers consistent finishes, and supports predictable schedules in commercial and residential interiors.
Think of it as a precise kit. Studs slide into track at the floor and head, then fasten with self-drilling screws. Bridging or carrying channel keeps studs aligned. At the head-of-wall, a slotted deflection track (or deflection clips) lets the structure move without cracking drywall. Where sound control matters, resilient channel decouples gypsum from studs to protect STC.
For teams that prefer a refresher on framing fundamentals and on-center spacing, our metal stud framing guide and framing sizes overview break down common widths, gauges, and layout patterns used in interiors.
Why Do Light Gauge Details Matter?
Details control performance and risk. Correct gauges, head-of-wall movement, and bracing prevent drywall cracks, door binding, and wavy surfaces. Clean openings and tested slip details speed inspections. The result is fewer callbacks, faster close-in, and finishes that hit level 4/5 standards reliably.
You see the impact in three places: schedule, finishes, and acoustics. Well-detailed partitions install faster because crews aren’t guessing about gauges or slip gaps. They finish flatter because bridging and crown orientation keep studs aligned. And they sound quieter when resilient channel is installed correctly—horizontal, 24 inches on-center, with screws only into the channel.
In our experience supporting builders and contractors, a one-page partition matrix that maps wall heights to stud gauges, bridging rows, and head-of-wall slip allowances can save dozens of crew-hours on large floors. Pair that with standard door jamb and header details, and you’ll eliminate most framing-related RFIs before they start. For a deeper dive into common pitfalls, see our interior wall framing mistakes guide.
How the System Works
Layout track, set studs at 16 or 24 inches on-center, brace with bridging, and detail the head-of-wall for movement. Box openings with heavier jambs and headers. Add resilient channel where sound matters and coordinate MEP before close-in. The result: flat, durable substrates ready for drywall.
Here’s the typical sequence we see on efficient interiors. Treat it as a baseline and adapt to your specifications and local codes.
- Layout and track: Snap lines; install standard or deep track; verify required sealants at rated joints.
- Studs: Cut to length; orient crown consistently; fasten with #6 or #8 self-drilling screws per spec.
- Bridging: Install carrying/bridging channel rows (often one row mid-height over 10 feet; more for tall walls).
- Head-of-wall: Use slotted deflection track or deflection clips; keep a 1/2–3/4 inch slip gap unless noted otherwise.
- Openings: Box jambs with 20 gauge or thicker; size headers to span; add king, jack, and cripple studs as needed.
- MEP coordination: Use pre-punched knockouts with grommets; verify rough-ins before closing both sides.
- Acoustics: Install resilient channel horizontally at 24 inches on-center; fasten drywall to channel only.
- Sheathing/drywall: Follow board fastening patterns (e.g., 8 inches on edges, 12 inches in field for many gypsum boards).
For additional strategies to reduce waste and walking during this sequence, our interior framing guide outlines prefab cut lists, zone staging, and color-coded bundling that keep crews moving efficiently.
Types of Components and Common Details
Core components include studs, tracks (standard, deep, slotted deflection), bridging/carrying channels, resilient channel, clips, and drywall trims. Choosing the right gauge and profile—then pairing with correct fasteners and spacing—drives wall flatness, acoustic isolation, and proper head-of-wall movement.
Studs (Non-Load-Bearing)
Non-load-bearing studs form the backbone of light gauge partitions. Select width and gauge by wall height, required stiffness, and the MEP volume you need to carry.
- Common widths: 1-5/8, 2-1/2, 3-5/8, 4, and 6 inches.
- Typical gauges: 25, 22, 20, 18, and 16 gauge; heavier gauges for tall spans and openings.
- Knockouts: Use grommets on pre-punched holes to protect wiring and data lines.
For a sharper look at gauge selection trade-offs, visit our deep dive on 16 gauge metal studs and where heavier sections pay back in straighter finishes.
Track Families
Track sets geometry and provides room for rated sealants and movement.
- Standard Track: Baseline floor and head track for most interiors.
- Deep Track: Extra leg depth for tolerance, acoustic sealant, or wavy slabs.
- Slotted Deflection Track: Vertical slots at the head let studs move relative to the structure, protecting finishes.
Bracing & Channels
Bracing controls stud twist and spacing and gives you a flatter wall plane.
- Bridging/Carrying Channel: One or more rows based on height; tight to stud webs for best stiffness.
- Furring Channel: Creates a decoupled plane over uneven substrates or for service chases.
- Resilient Channel: Horizontal, 24 inches on-center; fasten drywall to channel only to preserve decoupling.
Clips, Fasteners, and Drywall Trims
Clips and trims transform a good layout into a great finish by handling movement, loads, and clean edges.
- Deflection Side Clip / Webslide Clip: Alternatives to slotted track at head-of-wall slip conditions.
- Fasteners: #6–#10 self-drilling screws; match drill point and thread to steel thickness.
- Drywall Finishing: 90°/130° cornerbead, J trim, L trim, and Z-Bar produce durable, crisp edges.
Design & Engineering Fundamentals
Match stud gauge to wall height and spacing, apply deflection limits (e.g., L/240 or tighter), and design head-of-wall slip. Use product load tables so field teams can verify spans, spacing, and fastener patterns without guesswork. Heavier jambs at doors prevent hardware pull-out and binding.
Even non-load-bearing studs see lateral loads—from door slams, crowd pressure, and air movement. Up-gauging jambs to 20 gauge or thicker boosts screw retention, keeps reveals true, and minimizes maintenance. Where ceilings tie into walls, confirm load paths or hang independently to avoid overloading studs at the top track.
| Stud Gauge | Nominal Thickness (in.) | Common Use | Notes |
|---|---|---|---|
| 25 | ~0.0188 | Standard partitions up to moderate heights | Lightweight; pair with bridging for straighter walls |
| 22 | ~0.027 | Taller walls needing added stiffness | Frequent upgrade over 25 gauge |
| 20 | ~0.033 | Jamb studs, door frames, impact zones | Improved screw retention at hardware |
| 18 | ~0.043 | Taller partitions, high-traffic areas | Stiffer; confirm fastener tip style |
| 16 | ~0.054 | Very tall or demanding interiors | Often used as box-out members |
Head-of-wall slip protects gypsum and finishes from structural movement. Many interior details allow 1/2–3/4 inch vertical movement. Rated joints typically combine mineral wool and tested fire sealants that don’t lock the slip. For a practical comparison of head-of-wall approaches, see the table below.
| Method | Where It Fits | Key Benefit | Watch-outs |
|---|---|---|---|
| Slotted Deflection Track | Most interiors with vertical movement | Simple, repeatable slip with standard screws | Don’t fasten through slots into structure |
| Deflection Clips | Retrofits or tight headroom | Compact hardware solves complex conditions | Follow manufacturer fastener patterns |
| Deep Track (no slots) | Where movement is minimal | Extra leg depth for tolerance and sealant | No slip—confirm with structural engineer |
Best Practices That Save Time
Standardize partition types with a one-page matrix: stud gauge by height, rows of bridging, and head-of-wall movement. Prefabricate cut lists by zone, stage hardware by sequence, and photo-document inspections. These steps reduce layout time, RFIs, and punch-list items while improving first-pass approvals.
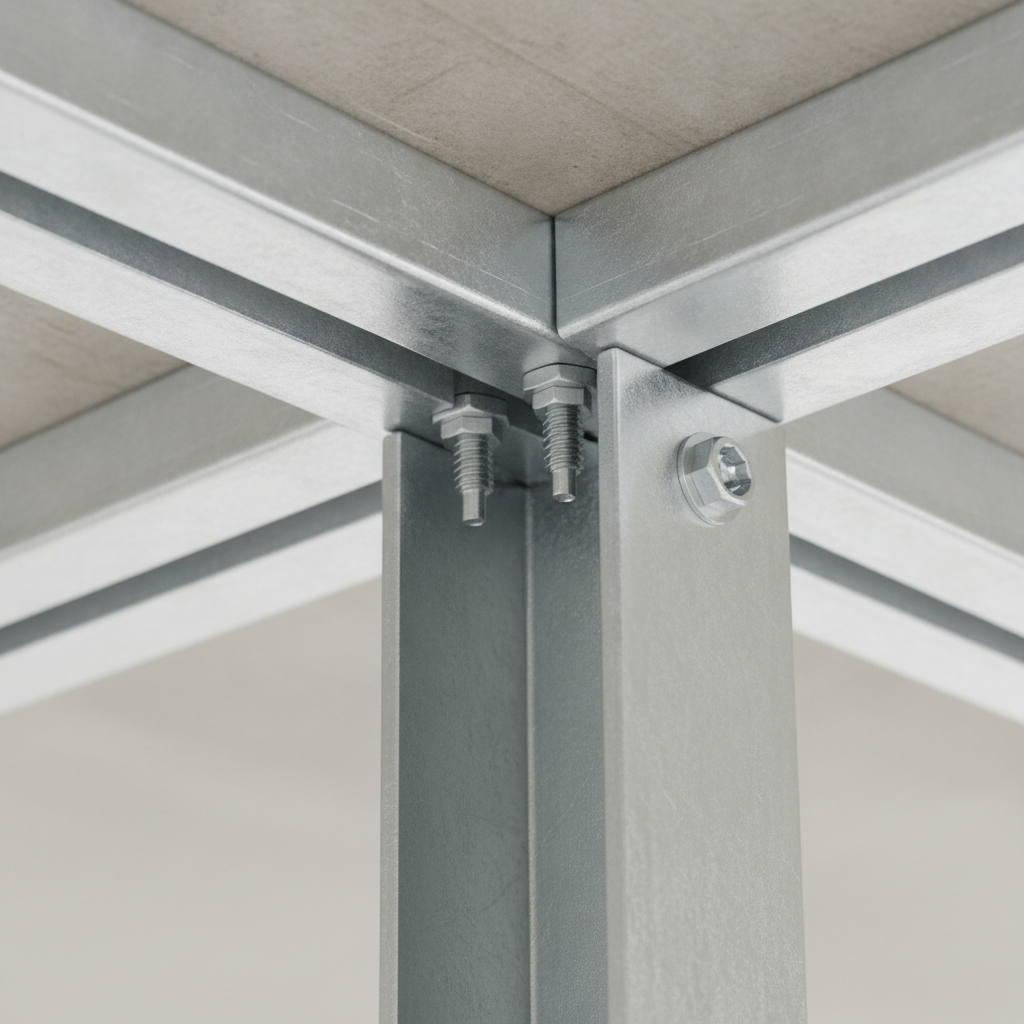
Head-of-Wall and Movement
Protect finishes by letting the structure move while walls stay straight.
- Use slotted deflection track or tested clips; maintain the specified slip gap (often 1/2–3/4 inch).
- Never hard-fasten studs to structure at slip conditions; screws go through slots into studs only.
- At rated joints, add mineral wool and approved fire sealants without blocking movement.
Openings & Hardware
Doors, sidelites, and glazing frame-outs concentrate loads. Treat them deliberately.
- Box jambs with 20 gauge or thicker; double up jambs for heavy doors and hardware.
- Size headers to clear spans without sag; coordinate with closer and stop loads.
- Pre-drill hinge locations to avoid stud walk and preserve reveal lines.
Bridging & Tall Walls
Bridging eliminates “oil-canning” and waviness that telegraph through finishes.
- Provide at least one row of bridging above 10 feet; add rows for very tall runs.
- Keep channels tight to stud webs and stagger splices to distribute stiffness.
- Use hangers compatible with stud gauge to prevent spin and squeaks.
Acoustics & Resilient Channel
Resilient channel is a precise tool—use it correctly or lose the benefit.
- Install channels horizontally at 24 inches on-center on the decoupled side only.
- Fasten drywall to channels, not studs; avoid short-circuiting around boxes.
- Seal perimeters with acoustic sealant; keep insulation continuous as specified.
Sequencing & QA
A disciplined sequence catches issues while fixes are still easy.
- Laser-check plumb, correct crowns, and snap lines before mass install.
- Use checklists for screw type, spacing, and slip conditions at inspections.
- Document with photos; fix variances before close-in to prevent tear-outs.
For a step-by-step planning framework, see our companion article light gauge metal framing guide focused on sequencing and waste reduction.
Tools, Submittals, and Resources
Strong submittals pair product data, imperial/metric load tables, MSDS, and head-of-wall/opening details. In the field, laser levels, aviation snips, depth-stop screw guns, and magnetic nut drivers keep crews fast and consistent. A tight RFI process resolves real-world conflicts before they hit the schedule.
Dass Metal Products supports designers and contractors with brochures, load tables, and standards documentation for non-load-bearing steel studs, tracks, channels, and trims. Our engineering team (40+ years in steel framing) helps tailor custom profiles and review jamb, header, and deflection details so crews build exactly what the drawings intend. Explore our overview of non-structural metal framing for scope context and product families.
Case Studies & Field Examples
Small detailing choices drive outsized results. Offices benefit from resilient channels and deep track for acoustics; healthcare relies on boxed jambs and head-of-wall slip; schools require extra bridging and durable trims. Across project types, standardized submittals and staged hardware repeatedly cut hours from layout and punch lists.
These condensed examples show how choosing the right detail once makes the whole floor plate behave better.
- Open Office Build-Out: 3-5/8 inch 25 gauge studs at 16 inches o.c.; deep track at head for acoustic sealant; one row of bridging; resilient channel on corridor side. Outcome: flatter ceilings and fewer hairline cracks after seasonal movement.
- Healthcare Patient Rooms: 20 gauge double jambs at doors; slotted deflection track with 3/4 inch slip; continuous acoustic sealant. Result: durable hardware support and protected finishes through structural deflection.
- School Corridor: 6 inch 20 gauge studs on tall runs; two rows of bridging; furring channel for service chase; cornerbead and trims at high-traffic corners. Benefit: straighter long spans that resist daily impacts.
- Multifamily Units: 2-1/2 inch 25 gauge demising partitions; resilient channel and insulation; J and L trims at window returns. Payoff: predictable STC across stacks and repeatable finish quality.
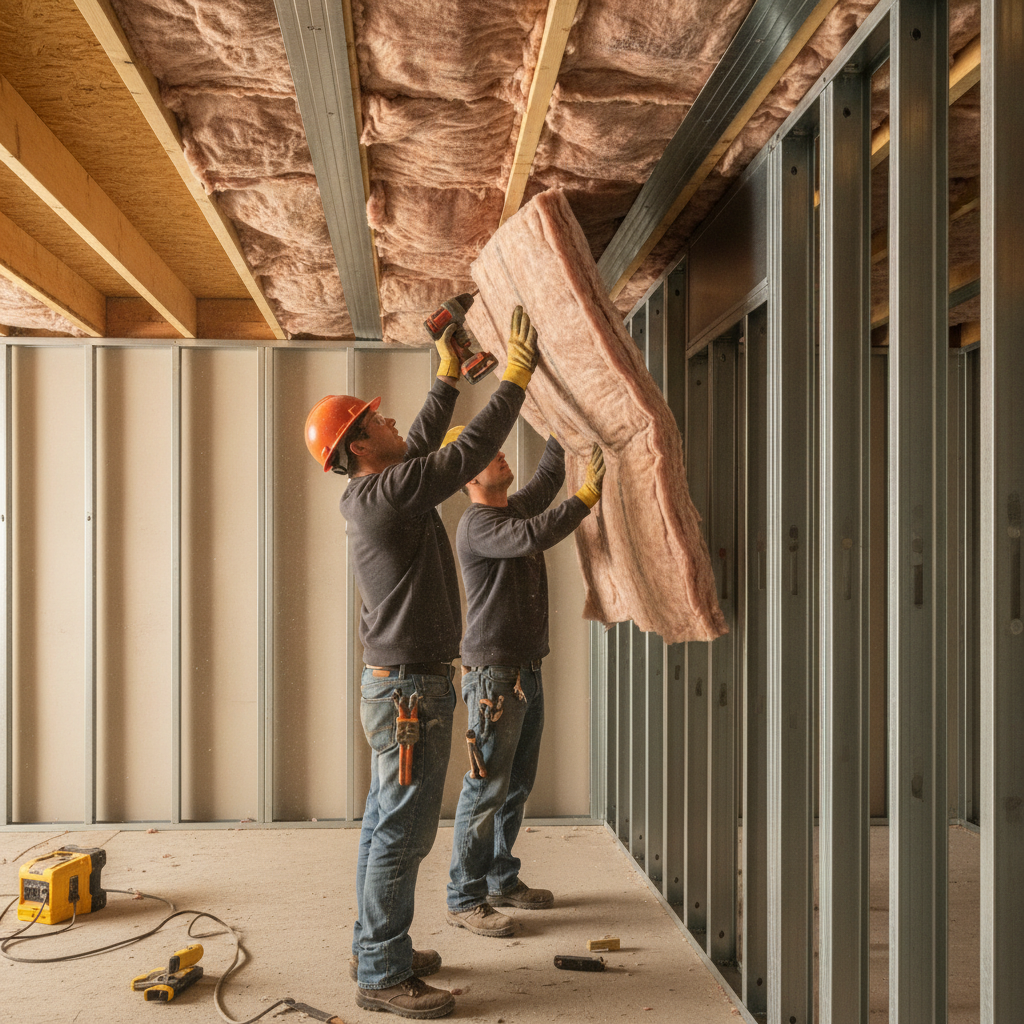
Looking to tighten your process further? Our article on light gauge steel studs explains profile options and tolerances, while this interior framing guide details staging and inspection workflows that reduce walking and rework.
Frequently Asked Questions
Most questions center on sizing, spacing, and movement. Know your stud gauge by wall height, confirm on-center spacing (16 or 24 inches), and always provide a tested head-of-wall slip detail. For acoustics, specify resilient channel and keep fasteners out of studs on the decoupled side.
What’s the difference between standard, deep, and slotted deflection track?
Standard track sets baseline geometry at floor and head. Deep track adds leg depth for tolerance and acoustic sealant. Slotted deflection track includes vertical slots so studs can move with the structure without cracking finishes. Choose based on movement and tolerance needs.
How do I choose stud gauge for a partition?
Match gauge to height, spacing, and expected loads. Many standard partitions use 25 or 22 gauge at 16 or 24 inches on-center. Openings and tall walls often need 20 gauge or thicker. Always verify against product load tables and project specifications.
When should resilient channel be used?
Use resilient channel where sound isolation matters—demising walls, corridors, sleeping areas, and offices. Install channels horizontally at 24 inches on-center and fasten drywall to the channel only to maintain decoupling and protect STC.
How much head-of-wall movement should I allow?
Movement allowance is project-specific. Many interior details provide 1/2–3/4 inch vertical slip at the head. Confirm live-load deflection and drift with the structural engineer and use slotted deflection track or tested deflection clips accordingly.
Key Takeaways
Choose the right gauge, design head-of-wall movement, and control stud alignment—those three decisions eliminate most framing-related callbacks. With disciplined sequencing and strong submittals, you’ll hand over straighter, quieter interiors on time.
- Standardize slip and bridging by partition type to speed layout and inspections.
- Up-gauge jambs and tall partitions for straighter finishes that hold up.
- Install resilient channel correctly—horizontal, 24 inches o.c., no screws into studs.
- Stage cut lists and hardware by zone; document checks with photos.
- Leverage engineering resources and load tables to remove guesswork.
Conclusion
Get the basics right—gauge, movement, and bracing—and most problems never show up. Pair those with clean openings, correct resilient channel, and disciplined QA, and your teams will finish faster with fewer punch items and more predictable results.
Dass Metal Products manufactures Canadian-made studs, tracks, channels, clips, and drywall trims for interior framing, supported by imperial and metric load tables, MSDS, and an experienced engineering team. Whether you need standard light gauge studs, slotted deflection track, resilient channel, or custom profiles, we help align details with field reality and keep schedules predictable across the United States and Canada. If you’re planning a fast-track build, share your partition matrix and head-of-wall details—we’re ready to help you lock in the right solution.
For homeowner-oriented framing context outside commercial interiors, see these contractor-focused primers on basement framing practices and common code checkpoints. For a broad overview of non-structural steel framing scope, review our non-structural metal framing introduction.
