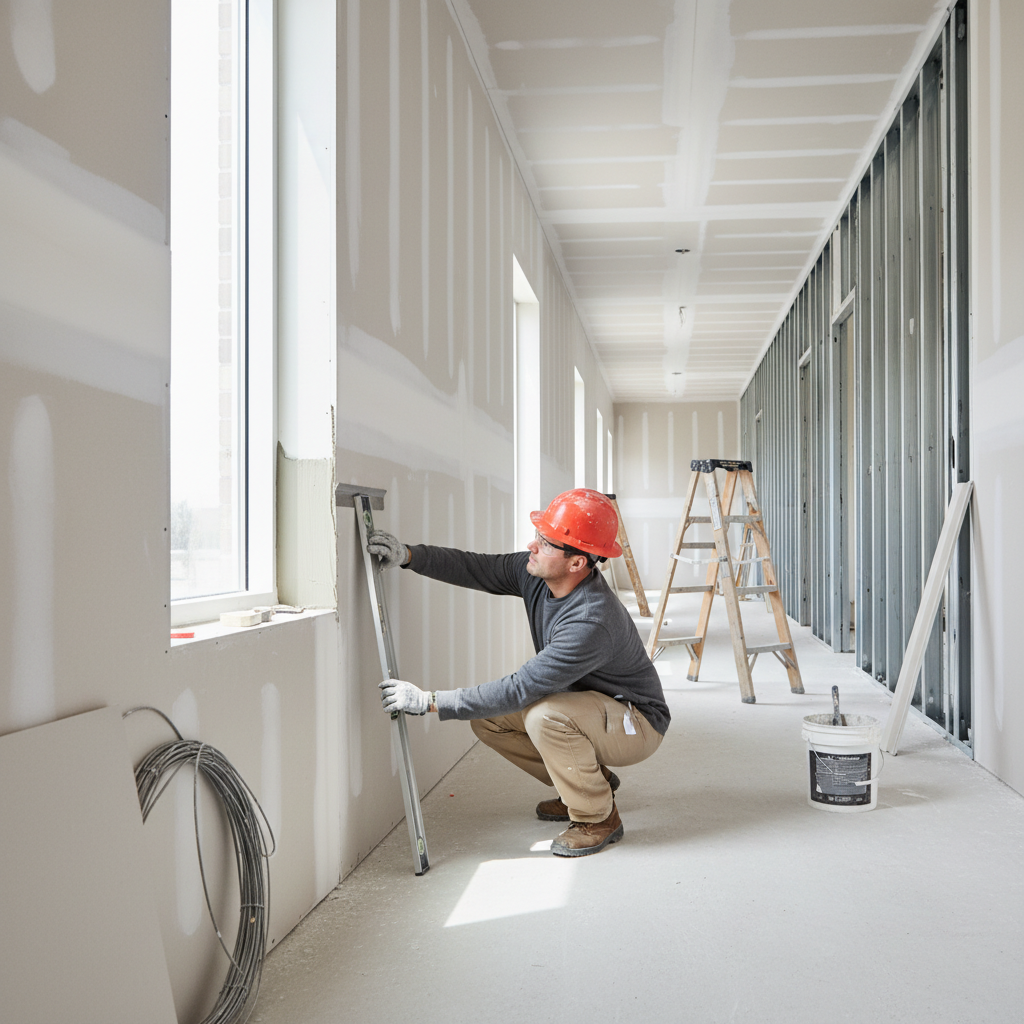
Drywall bead is the protective trim that reinforces and straightens drywall edges at corners, reveals, and terminations. It creates crisp lines, resists impact, and speeds finishing when installed correctly. For Vaughan, ON crews and cross-border projects, choosing the right bead and method ensures durable results that match Dass Metal Products’ engineered framing systems.
By Navjot Dass • Last updated: 2026-05-16
Above the Fold: Why This Guide and What You’ll Learn
This complete guide explains what drywall bead is, why it matters, and how to install it fast with pro-level quality. You’ll learn bead types, tools, spacing and taping targets, and field-tested steps that reduce callbacks. Built for builders and drywall contractors who rely on precision steel framing and trims.
- Quick definition and purpose of drywall bead
- How bead interacts with steel studs and tracks
- Installation steps, screw spacing, and taping passes
- When to use metal, vinyl, paper-faced, bullnose, J/L trims
- Quality checks that prevent cracks and edge waves
- Tools and resources trusted by pro crews
At a Glance
Drywall bead creates strong, straight, and durable edges at outside corners and terminations. Select bead by use-case (impact level, humidity, radius), then follow consistent fastening and taping targets. With standardized steps, crews finish faster, edges look sharper, and rework drops significantly over the project life.
Here’s the short version many superintendents ask for: pick the right profile, set it straight, fasten on a predictable pattern, and tape in three clean passes. That rhythm—done the same way job after job—yields smooth corners and keeps punch lists short.
What Is Drywall Bead?
Drywall bead is a finishing trim that protects exposed gypsum edges and forms clean lines at corners, reveals, and window returns. It’s typically metal, vinyl, or paper-faced, and it’s bedded or fastened to the board before joint compound is applied and sanded for paint-ready edges.
In practice, bead is a small part with an outsized impact. It turns vulnerable drywall edges into straight, impact-resistant corners. On commercial sites, consistent bead selection and placement speeds finishing sequences and stabilizes quality across dozens of rooms and hundreds of corners.
As a Canadian manufacturer serving Ontario, Canada, and the US, Dass Metal Products engineers complementary framing systems and finishing trims—including 90°/130° cornerbead, J trim, L trim, and reveal options—to support predictable, code-aligned results for interior framing crews.
For fundamentals on framing that set bead up for success, see our guidance in the drywall and metal studs guide and this practical note on framing corners with metal studs.
Why Drywall Bead Matters
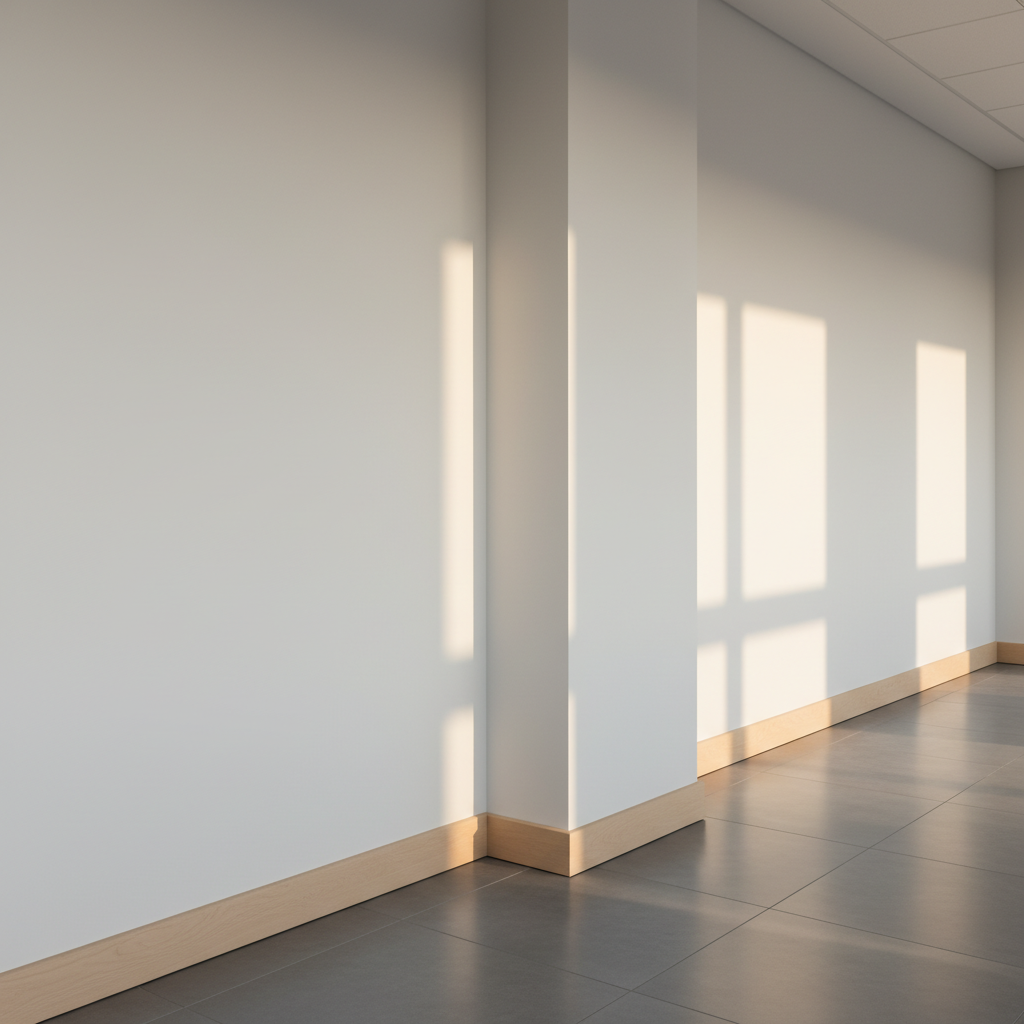
Bead matters because it protects corners from daily impacts, defines the architecture’s lines, and prevents hairline cracking where traffic and movement are common. When paired with straight steel framing and consistent taping, it produces uniform results across large floor plates and reduces punch-list rework.
Three realities drive selection:
- Impact resistance: Outside corners along corridors take dozens of bumps per day on active sites. A properly fastened metal or paper-faced bead maintains a clean arris under routine contact.
- Movement and deflection: Buildings move. Proper compound bedding and flexible joints near deflection conditions keep cracks from telegraphing at corners.
- Finish quality: Straight bead equals straight paint lines. A 1/32-inch wave is visible under grazing light; set and check with a level and 12-inch knife.
Crews who standardize bead type by zone (e.g., metal for service corridors, paper-faced where tapers run long walls) typically report fewer callbacks. We see similar benefits when projects pair bead choices with planned drywall framing best practices.
How Drywall Bead Works
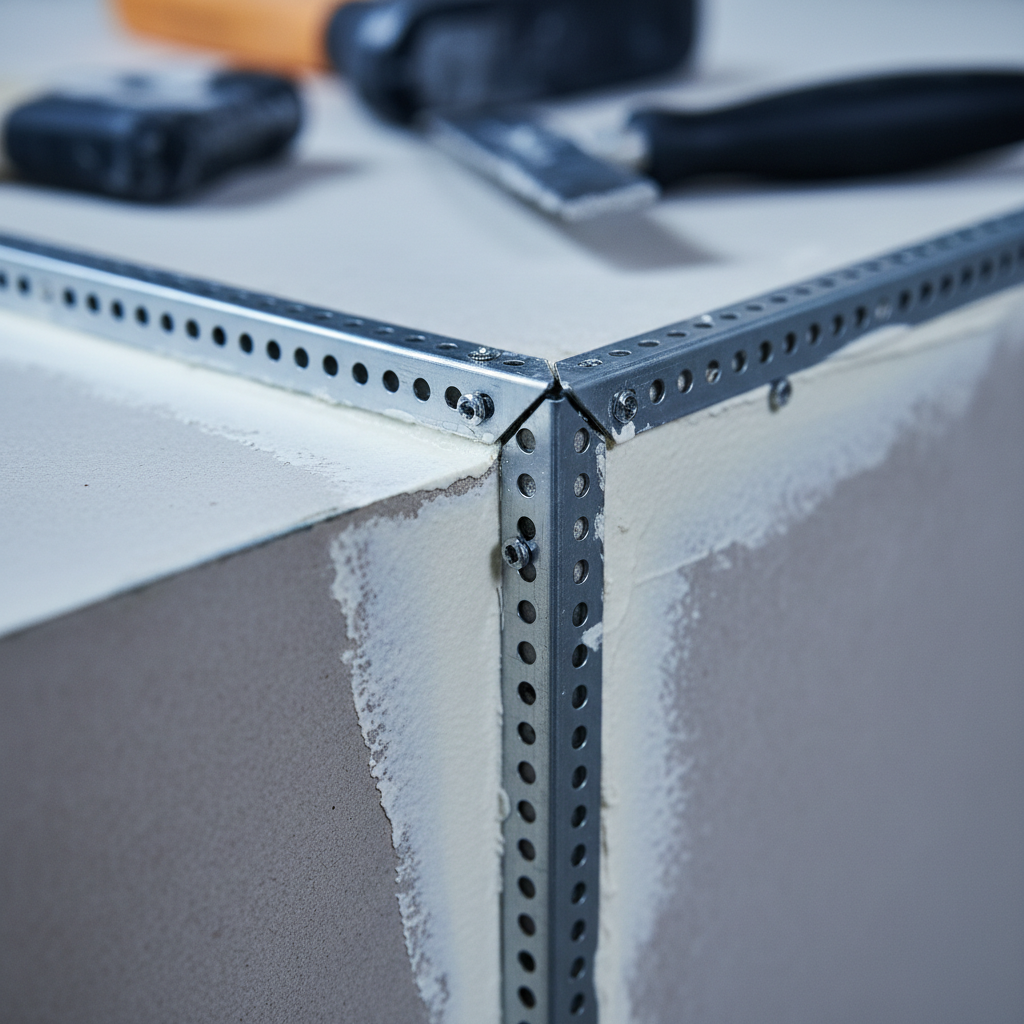
Bead works by bridging and protecting the drywall edge, providing a rigid, straight arris that’s embedded in compound or fastened mechanically. Compound fills perforations and bonds the bead, while screw or staple patterns control pull-through and keep the corner aligned for sanding and paint.
Mechanically, bead creates a small rigid spine down the corner. Perforations or paper faces increase the bonding surface area for joint compound, while flanges distribute impact and make feathering predictable. Typical targets that keep crews consistent include:
- Fastener spacing: 8 inches on center along both flanges for metal bead; staples for vinyl as per manufacturer guidance.
- Compound passes: Three coats—set, fill, finish—with each coat extending 1–2 inches wider than the last.
- Sanding sequence: 120–150 grit for finish; primer reveals any ridges before paint.
Good framing still matters. Plumb studs and stable tracks make it easier to keep corners straight and avoid compound build-up. If you’re new to steel, our overview of cold-formed metal framing explains why consistent geometry pays off during finishing.
Types of Drywall Bead and Trim
Common drywall bead types include metal corner bead, paper-faced metal, vinyl (PVC) bead, bullnose profiles, and J/L trims for terminations. Choose by impact level, humidity exposure, desired radius, and whether you need a crisp reveal or a soft corner. Match the bead to the room’s abuse and the finish style.
Here’s how pros typically decide:
- Metal corner bead (90°): Durable, fast, and familiar. Ideal for high-traffic corridors and commercial spaces.
- Paper-faced metal: Great for quick bedding, fewer fasteners, and smooth transitions across long walls.
- Vinyl/PVC bead: Moisture-friendly and flexible options for arches and complex geometries.
- Bullnose bead: Softer radius for design intent or safety in pediatric and hospitality environments.
- J trim and L trim: Clean terminations at tile edges, ceilings, or panel interfaces—see our primer on what a J bead does.
- 130° cornerbead: Used at obtuse angles where walls splay; provides consistent compound thickness.
| Bead Type | Best Use | Fastening/Bedding | Finish Notes |
|---|---|---|---|
| Metal 90° | High-traffic corners | Screws 8″ o.c. | Feather 3 passes |
| Paper-faced metal | Long walls; smooth transitions | Bed in compound | Minimal fasteners |
| Vinyl/PVC | Moisture areas; arches | Staples/adhesive | Flexible options |
| Bullnose | Soft design radius | As per type | More feather width |
| 130° cornerbead | Obtuse wall angles | As per type | Check angle fit |
| J / L trim | Terminations, reveals | Fasten to board | Seal before paint |
For a deeper dive on corner options, our internal playbook expands on profiles in the corner bead guide.
Best Practices: Fast, Durable Drywall Bead Installs
The fastest installs follow a repeatable rhythm: dry-fit, align, fasten or bed, then run three clean compound passes with controlled widths. Use consistent screw spacing, keep corners proud by a hair, and sand only after full cure. This method eliminates waves, reduces cracking, and speeds punch approvals.
Field-tested workflow
- Prep the corner: Confirm plumb studs and tight board edges; knock down any torn paper.
- Cut and dry-fit: Leave a tiny gap at the floor to avoid wicking; verify the bead follows the wall.
- Fasten or bed: For metal, run screws ~8″ o.c.; for paper-faced, bed in compound with firm pressure.
- Set coat: Press compound through perforations; scrape clean ridges.
- Fill coat: Widen by 1–2 inches beyond the set coat; maintain a straight knifeline.
- Finish coat: Final feather; avoid overworking. Allow full dry time between coats.
- Sand and prime: 120–150 grit, light pressure; priming exposes ridges to touch up before paint.
Quality targets crews can measure
- Straightness: No visible waves at 6–8 feet under raking light.
- Fasteners: Heads slightly dimpled and covered; no tear-outs.
- Arris: Uniform line; no flat spots from over-sanding.
- Feather width: Typically 4–6 inches per side after three passes.
Common pitfalls (and simple fixes)
- Over-driving screws: Leads to bead wobble; back out and reset.
- Skimping on bedding pressure: Causes hollow sounds; re-bed with fresh compound.
- Rushing dry times: Traps moisture; wait full cure before sanding.
Soft CTA: Standardize your corner details across projects. Our engineering team in Vaughan supports profile selection, shop drawings, and custom trims that align with your interior framing sequence.
Tools and Resources (What Pros Actually Use)
You don’t need exotic tools—just consistent ones. A 6–12 inch knife set, quality compound, a level, snips, stapler or screw gun, and sanding gear cover most installs. For process details, crews rely on simple checklists, bead mockups, and manufacturer how-tos to keep the team in sync.
- Layout and prep: 4-foot level, laser, utility knife, rasp.
- Cutting and fastening: Aviation snips, screw gun, narrow-crown stapler for vinyl.
- Taping and finishing: 6/10/12-inch knives, hawk or pan, corner tools, sanding block.
- Quality control: Handheld light for grazing checks, straightedge, primer for reveal tests.
For a step-by-step refresher many foremen pin to the board, see our metal corner bead how-to. If your crew is standing up new partitions on steel, this how to install metal studs explainer pairs well with the finishing sequence.
Case Studies and Practical Examples
Standardized bead processes reduce rework and keep schedules moving. Across commercial corridors, offices, and retail fit-outs, crews that align framing, bead selection, and taping passes report straighter corners, faster punch approvals, and fewer post-occupancy dings needing touch-up.
Ontario corridor retrofit (multi-tenant office)
- Scope: 1,200 linear feet of outside corners, mostly 90° metal bead.
- Approach: Screws at ~8″ o.c., three-pass compound system; inspection after primer.
- Outcome: Straight corners under raking light; minimal touch-ups before turnover.
Cross-border retail rollout (multiple small-box units)
- Scope: Mixed paper-faced and vinyl bead depending on humidity and back-of-house abuse.
- Approach: Same QC checklist across sites; bead mockups signed off by the GC.
- Outcome: Predictable finish from unit to unit; fewer callbacks after open.
Healthcare wing refresh (soft edges for safety)
- Scope: Bullnose and 130° bead in patient corridors and nurse stations.
- Approach: Paper-faced where long walls benefit; vinyl where cleaning moisture is common.
- Outcome: Softer corners reduce scuff visibility; maintenance team notes easier cleaning.
If your scope extends into reinforced concrete or sitework coordination, our JDass family covers those trades too; for example, this primer on pool rebar installation basics shows our focus on sequence and quality across disciplines.
Local considerations for Vaughan, ON crews
- Plan bead choices by zone: service corridors favor metal; offices often prefer paper-faced for smooth transitions—both align well with our Canadian-made trims.
- Account for winter humidity swings; allow full compound cure before sanding to avoid surface checking in colder, drier months.
- Coordinate deliveries to avoid weather delays; our Vaughan-based team supports tight timelines with dependable regional and cross-border logistics.
Drywall Bead FAQ
These quick answers address the most common drywall bead questions we hear from builders and drywall contractors. Use them to standardize quality targets, select the right profile, and keep finishing sequences moving on schedule without surprises.
What type of drywall bead is best for high-traffic corridors?
Metal 90° corner bead is the go-to for durability and speed. It handles frequent bumps, fastens reliably with screws about 8 inches on center, and feathers cleanly in three passes for a sharp, uniform arris.
How many coats of compound should I use over bead?
Use three coats: set, fill, and finish. Each coat should extend 1–2 inches wider than the last. Let every coat dry completely before sanding or applying the next to avoid ridges and shrinkage cracks.
When should I choose paper-faced bead instead of metal?
Choose paper-faced where you want faster bedding and fewer fasteners, especially along long walls or where a smoother transition helps hide flatness variations. It’s also helpful when you’re targeting minimal surface dimples.
What’s the typical screw spacing for metal corner bead?
A common field target is about 8 inches on center on both flanges, with heads slightly dimpled and covered. Always keep the arris straight—use a level and a 12-inch knife as a quick, practical gauge.
Conclusion and Next Steps
Drywall bead delivers straight, impact-resistant corners when you match the profile to the space and run a consistent fastening and taping rhythm. Standardize your process, verify with quick QC checks, and your walls will read clean under light—project after project.
Key takeaways
- Pick bead by impact, humidity, and finish intent; metal 90° dominates corridors.
- Run three predictable compound passes; widen 1–2 inches each time.
- Target ~8″ fastener spacing on metal bead; verify straightness under grazing light.
- Quality framing and bead choices cut rework and speed punch approvals.
Action steps
- Define bead-by-zone standards for your next project.
- Mock up one corner for GC approval before full deployment.
- Align framing details with finishing—start with our drywall and metal studs overview and drywall framing checklist.
- For trim choices at edges, review our notes on J bead uses and corner bead options.
Ready to standardize corners? Our Vaughan-based team supports profile selection, custom trims, and logistics across Ontario, Canada, and the US—so your crews can install once and move on.
