

Cold formed steel studs are thin-gauge, cold-bent steel members used to frame interior and exterior walls, ceilings, and partitions. Produced from galvanized coil into C-shaped studs and tracks, they deliver high strength-to-weight performance with predictable, code-referenced properties. For projects across Canada and the United States, they provide straight, fast, and safe framing with minimal waste.
By Navjot Dass · Last updated: July 3, 2026
Quick Summary and Contents
Cold formed steel studs are precise, non-combustible framing members shaped from galvanized steel. Use light-gauge studs for non-structural partitions and heavier gauges for load-bearing and exterior walls. Verify limiting heights and deflection with manufacturer load tables, and detail head-of-wall deflection using slotted track or slide clips.
This expert guide shows you how to size, specify, and install cold formed steel studs with confidence.
- What cold formed studs are and why they outperform alternatives
- How to match stud gauge, depth, and spacing to height and load
- Key components: tracks, channels, clips, acoustic decouplers
- Best practices for deflection, fire, corrosion, and acoustics
- Tools, tables, and real-world examples you can use today
Contents:
- What Are Cold-Formed Steel Studs?
- Why They Matter
- How They’re Made and Specified
- Types and Components
- Best Practices
- Selection Matrix and Sizing Process
- Tools and Resources
- Case Studies
- FAQ
- Conclusion and Next Steps
What Are Cold-Formed Steel Studs?
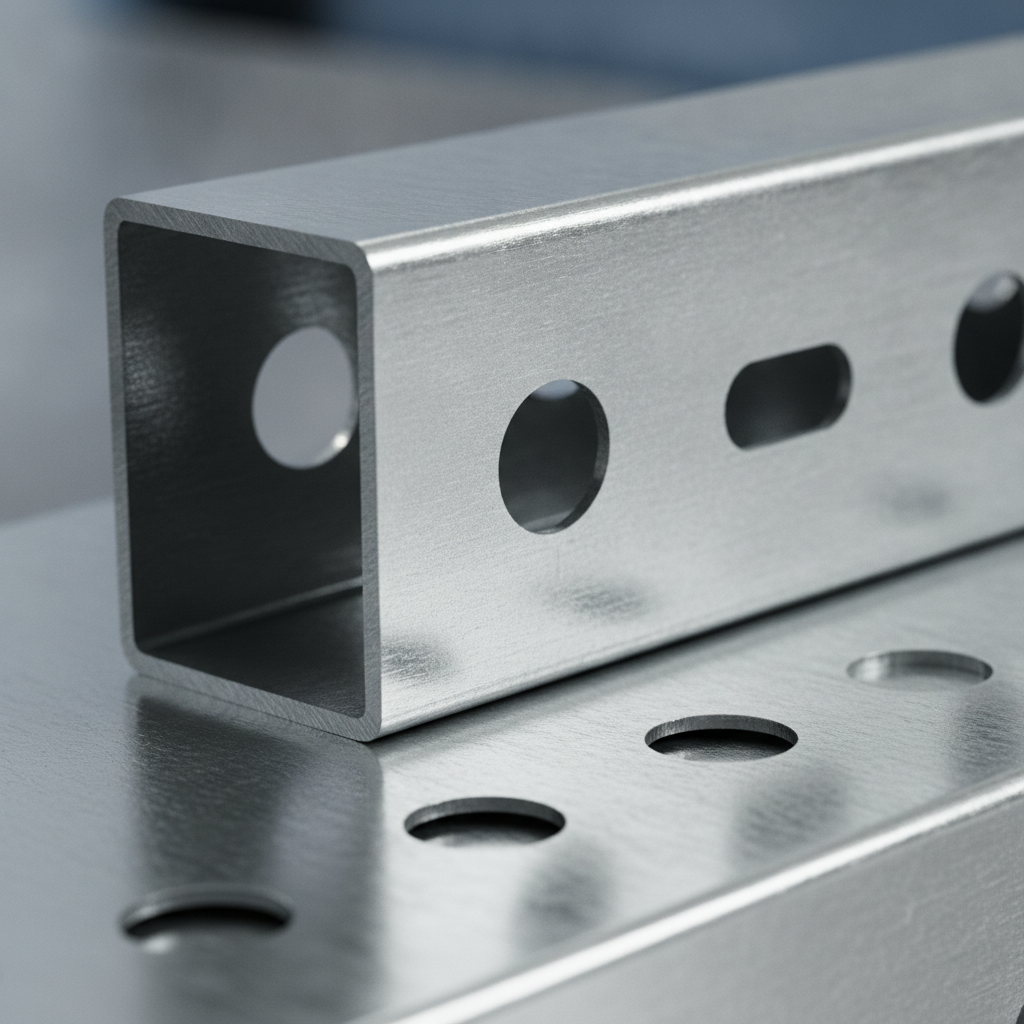
Cold formed steel studs are thin sheet-steel sections roll-formed at room temperature into C-profiles with flanges and return lips. Manufactured from galvanized coil, they offer high stiffness for their weight, tight tolerances, and uniform mechanical properties. Designers pair studs with tracks, bridging, and clips to create straight, efficient wall systems.
In simple terms, these are precision-shaped, light-gauge or heavy-gauge steel members used to frame walls and ceilings. Studs are commonly spaced 16 or 24 inches on center. Factory-punched service holes speed MEP runs, and galvanized coatings (e.g., G60 or G90) provide corrosion protection. Limiting heights are established by tested assemblies and manufacturer load tables.
If you’re new to the category, our high-level primer on metal studs guide walks through common profiles and how they interact with gypsum, insulation, and fasteners. For an even broader systems view, see our overview of cold-formed steel framing.
Why Cold-Formed Steel Studs Matter
Cold formed studs improve build speed, straightness, and safety. They’re non-combustible, dimensionally stable, and lighter than many alternatives. Standardized sizes and gauges streamline design, while resilient channels, deflection heads, and bridging accessories help teams meet acoustic and drift requirements with predictable outcomes.
Here’s the thing: walls finish better when framing stays straight. Steel doesn’t warp or swell with humidity swings, which protects drywall joints and paint quality. Mechanical, electrical, and plumbing trades benefit from factory-punched holes that reduce drilling time and protect conductor integrity. Predictable axial and bending capacities also enable rational design instead of rules of thumb.
- Consistency: Uniform yield strength and tight tolerances reduce variance on site.
- Speed: Studs, tracks, and clips install quickly with self-drilling screws.
- Safety: Non-combustible framing supports fire-resistive assemblies with tested details.
- Acoustics: Resilient channels and insulation can add multiple STC points when installed correctly.
- Logistics: Light bundles move easily; cross-border deliveries support multi-state and Canadian projects.
In our experience supporting builders across Canada and the United States, the biggest gains show up in schedule reliability. Factory-straight studs reduce rework, and standardized accessories make head-of-wall movement and shaftwall conditions repeatable from floor to floor.
How Cold-Formed Studs Are Made and Specified
Manufacturers slit galvanized coil and roll-form it through dies into precise C-studs and tracks. Specs cover base steel thickness (gauge), yield strength, protective coating (e.g., G60/G90), stud depth, flange width, and spacing. Designers verify limiting heights and deflection using manufacturer load tables and tested assemblies.
Roll forming happens at room temperature. The process preserves consistent dimensions and straightness over the length of each member. Studs slide into matching tracks at head and base, then fasten with self-drilling screws. Limiting heights depend on unbraced length, gauge, depth, and gypsum layers. Common deflection criteria run L/240 to L/360 for interior partitions, with L/480 specified for sensitive finishes.
At the head-of-wall, slotted deflection track or slide clips let floors move independently under live load or wind drift. This is crucial in mid- to high-rise conditions. If the top connection can’t slip, the wall finish tends to crack. Details should show the slip gap, fastener pattern, and any required fire/smoke sealant. For fundamentals on selection, review our light gauge steel studs explainer.
Types, Components, and Where Each Fits
Use light-gauge studs for non-structural partitions, heavier gauges for load-bearing and exterior infill, and the right track for head/sole conditions. Bridging and resilient channels tune stiffness and sound. Specialty items—U-flex track, shaftwall studs, and clips—solve curves, shafts, and deflection without field improvisation.
Core stud families
- Non-load-bearing studs (light gauge): Interior partitions, bulkheads, and ceilings at 16 or 24 inches on center.
- Load-bearing studs (heavy gauge): Exterior curtain walls and structural stud walls with verified axial and bending capacity.
Tracks that make systems work
- Standard track: Matches stud depth for base and head conditions.
- Deep track: Adds tolerance and facilitates slip at the head.
- Slotted deflection track: Provides vertical movement while transferring lateral loads.
Bridging, channels, and acoustic decoupling
- Bridging/carrying channel: Controls twist and lateral buckling; improves wall feel.
- Resilient channel: Decouples gypsum from studs to improve STC ratings.
- Furring channel, Z-Bar, L track: Create planes, reveals, and soffits; manage finish tolerances.
Clips and specialties
- Deflection side clips and webslide clips: Speed head-of-wall movement details without custom hardware.
- U-Flex track: Forms curves and radii more cleanly than segmented studs.
- Shaftwall/CH stud: Simplifies elevator and mechanical shaft assemblies with tested components.
For dimensional charts and typical ranges used regionally, see our overview of steel stud framing sizes. You’ll find both metric and imperial perspectives summarized for quick takeoffs.
Best Practices for Design and Installation
Right-size studs to wall height, wind/axial demands, and openings; then detail for movement, fire, sound, and corrosion. Use bridging to control twist, resilient channels for acoustics, and the correct coating for exposure. Verify fastener types and spacing per tested assemblies and submittal data.
Design choices that prevent rework
- Stud selection: Match gauge and depth to unbraced height and load; check deflection (L/240–L/360) and limiting heights.
- Openings: Reinforce jambs and headers to carry tributary loads; reference tested details.
- Deflection heads: Use slotted track or slide clips; leave the slip gap shown in details.
Field practices crews appreciate
- Bridging rows: Install per height; fasten with purpose-made connectors.
- Fasteners: #8 or #10 self-drilling screws are common; follow spacing in tested UL/Intertek assemblies.
- Acoustics: Resilient channel orientation and screw placement are critical; seal perimeters to block flanking paths.
Durability, corrosion, and fire
- Coatings: G40/G60 for typical interiors; consider G90 near moisture or exterior sheathing.
- Fire resistance: Pair studs with type X gypsum, mineral wool, and firestop sealants per listed assemblies.
- Compatibility: Avoid dissimilar metal contact; use primers where required.
Want a concise field refresher? Our step-by-step metal stud framing guide outlines layout, fastening, and inspection pointers crews can read in minutes. For wall fundamentals, see stud wall basics.
Selection Matrix and Sizing Process
Size cold formed steel studs by linking wall height, spacing, and loading to limiting heights in manufacturer tables. Confirm deflection criteria (often L/240–L/360), pick matching tracks and clips, and document head-of-wall slip. Always verify selections against current submittals and tested assemblies.
Below is a practical selection flow you can adapt to most interior and exterior stud walls.
- Define use: non-load-bearing partition, exterior infill, or structural stud wall.
- Set unbraced height and spacing (commonly 16 or 24 inches on center).
- Identify loads: gypsum layers, wind pressure, openings, and deflection criteria.
- Choose candidate stud depths and gauges; check limiting heights and axial/bending tables.
- Pick compatible track (standard, deep, or slotted deflection track).
- Detail head-of-wall slip, bridging rows, and acoustic decoupling if required.
- Finalize fasteners, corrosion protection, and submittal package.
| Wall height (example) | Suggested stud depth | Typical gauge range | Common spacing | Notes |
|---|---|---|---|---|
| 8–10 ft interior partition | Standard depth for partition walls | Light-gauge (non-structural) | 16″ or 24″ o.c. | Verify limiting heights with gypsum layers and bridging. |
| 12–14 ft corridor wall | Deeper stud for stiffness | Heavier non-structural or light structural | 16″ o.c. typical | Check L/240 or tighter; consider resilient channel for STC. |
| Exterior infill between columns | Depth per insulation/sheathing | Structural gauges | 16″ o.c. typical | Use slotted track; coordinate sheathing and air barrier. |
Tip: On tenant improvements, we often see success with 24-inch spacing where limiting heights allow it. That cut in stud count speeds fastening and reduces penetrations—just confirm criteria with the actual assembly.
Tools and Resources You Can Use
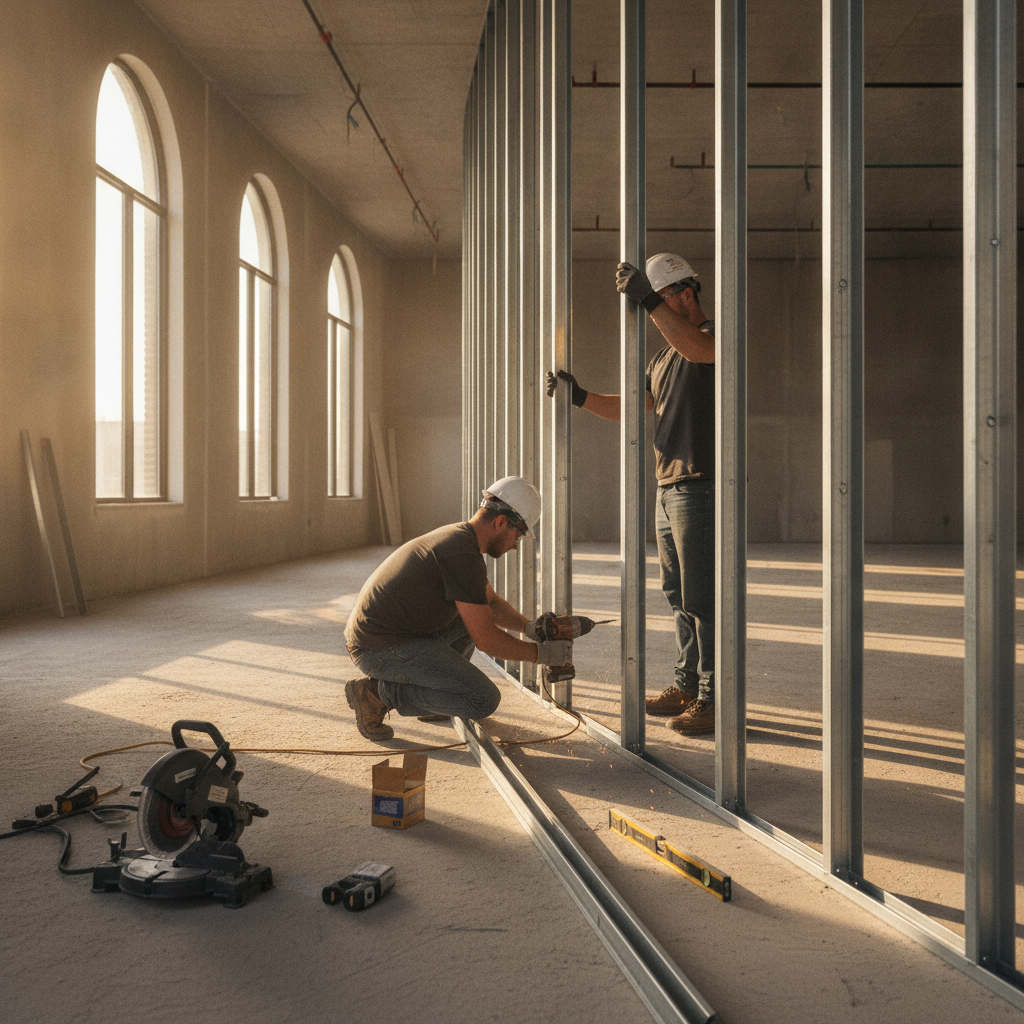
Leverage manufacturer load tables, product brochures, and standards references to speed specification and submittals. Use system details for deflection heads, bridging, and acoustics. Keep SDS on hand for safe handling, and align selections with tested fire and sound assemblies.
- Load tables: Limiting heights and capacity checks in both metric and imperial.
- Product brochures: Dimensional charts, compatible accessories, and fastener guidance.
- System details: Head-of-wall deflection, shaftwall, resilient channels, and bridging layouts.
- Submittal templates: Streamline approvals with organized specs and listings.
For a practical homeowner-focused perspective on finishing spaces safely, see this basement framing guide. For code-aware tips during planning, review these basement framing rules—helpful context when framing services, penetrations, and firestopping are in play.
If you’re comparing material choices, this overview on why metal studs are the top choice summarizes practical pros that show up on punch lists and schedules.
Case Studies and Real-World Examples
Teams win schedules when selection, detailing, and logistics align. These scenarios show how standardized components—paired with engineering support and dependable delivery—keep projects moving while meeting fire, sound, and structural targets across Canada and the United States.
High-rise tenant fit-out: straight walls, quieter rooms
A multi-floor office build prioritized speed and acoustics. Light-gauge studs at 24 inches on center with resilient channel delivered the target STC while lowering screw counts. Factory-punched holes accelerated MEP rough-in. The result was cleaner finishes with fewer touch-ups across repeated floor plans.
Exterior infill framing: drift without cracks
On a windswept site, heavy-gauge studs paired with slotted deflection track met L/360 drift while keeping head-of-wall joints intact. The slip detail and sealant sequencing protected the air barrier and supported sheathing installation in a tight window between weather events.
Curved lobby soffit: faster layout with U-Flex
A hospitality lobby required continuous curves around lighting coves. U-Flex track formed smooth radii without segmented stud cutting, trimming both waste and layout time. Crews focused on alignment, not fabrication, and finishes snapped into place on the first pass.
Shaftwall upgrade: simpler cores, cleaner handoff
Using CH studs and a listed board system, the elevator core framed quickly with standardized jamb and header details. The approach reduced field questions and sped inspections, freeing teams to focus on door hardware and device coordination.
For foundational guidance that complements these examples, our broad explainer on framing studs ties design choices to field outcomes in plain language.
Frequently Asked Questions
These concise answers resolve the questions specifiers and site teams ask most: gauges and heights, spacing, head-of-wall movement, acoustic upgrades, and corrosion protection. Use them to check submittals and RFIs before mobilizing crews so walls frame straight, pass inspection, and finish cleanly.
What gauge should I use for a 10-foot interior partition?
Light-gauge non-structural studs commonly cover 10-foot heights at 16 or 24 inches on center. Verify limiting heights in the manufacturer’s tables, considering gypsum layers, bridging rows, and deflection criteria (often L/240 for partitions).
How do I allow for floor deflection at the top of wall?
Use a slotted deflection track or slide clip at the head-of-wall. Leave the designed slip gap and avoid fasteners through the slot that would restrict movement. Confirm allowable loads and slot lengths in the product data.
Does resilient channel really improve sound ratings?
Yes—properly installed resilient channel decouples gypsum from studs, often improving STC by several points. Follow orientation and fastener placement closely; bridging, insulation, and perimeter sealants also influence results.
Which galvanized coating should I specify indoors?
For typical conditioned interiors, G40 or G60 coatings are common. Higher exposure or proximity to moisture may justify G90. Always comply with project specifications and relevant standards.
Conclusion and Next Steps
Selecting cold formed steel studs comes down to linking wall height, spacing, and loads to proven tables—then detailing movement, acoustics, and corrosion. When in doubt, use tested assemblies and purpose-made clips to lock in predictable results from shop drawings to punch list.
Key takeaways
- Size studs with limiting heights and deflection criteria, not rules of thumb.
- Use slotted deflection track or slide clips at the head-of-wall to prevent cracking.
- Control twist with bridging; improve STC with resilient channels and sealants.
- Match galvanized coating to exposure; document fasteners and spacing in submittals.
- Standardized details repeat well—especially across multi-floor programs.
Ready to move from concept to submittals? Explore our quick overview of cold-formed steel framing and our practical metal stud framing guide. If you need tailored guidance, our engineering team can map gauges, tracks, and accessories to your drawings—complete with the right load tables.
Let’s build it right the first time. Share your wall schedule and constraints; we’ll align stud sizes, tracks, bridging rows, and acoustic details so your crews frame fast—and your finishes look great.
