Last updated: October 2026
By Navjot Dass • Last updated: 2026-10-24
Drywall J bead at a glance
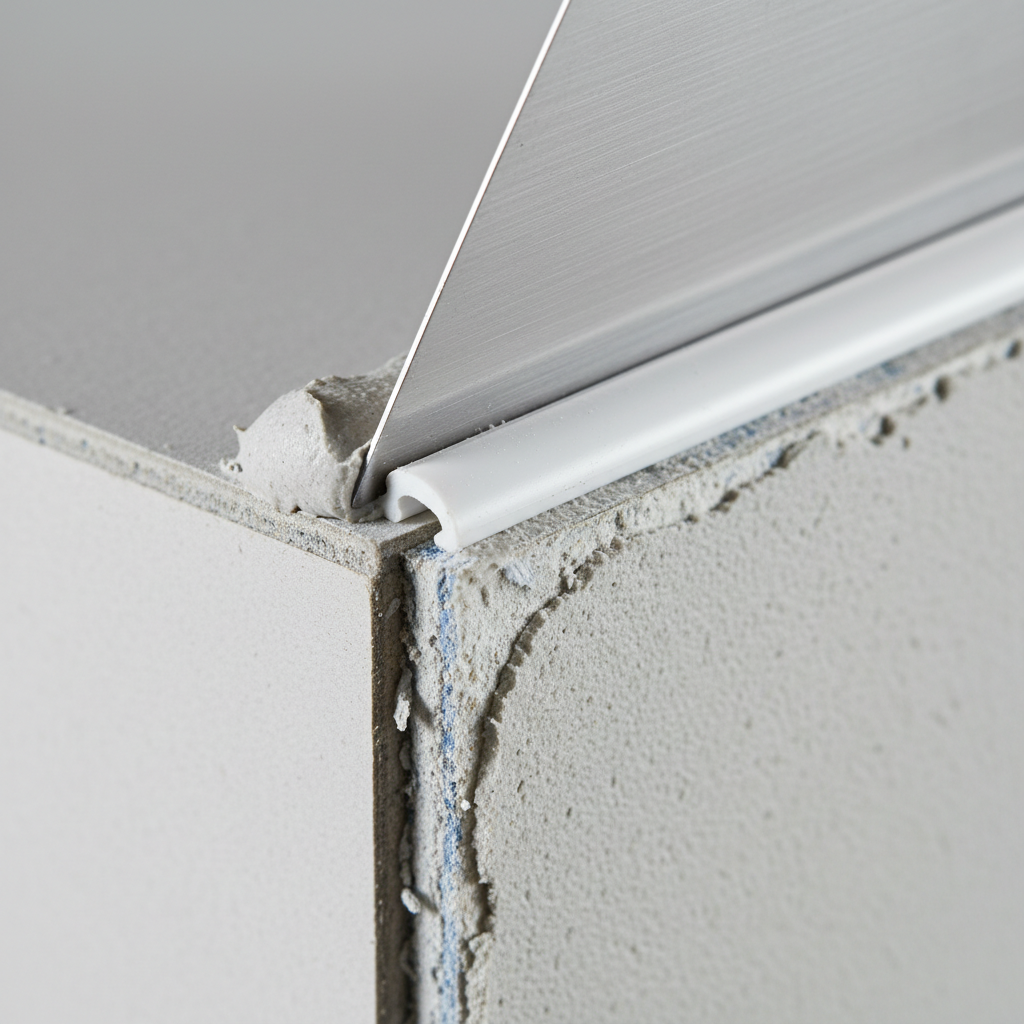
Drywall J bead, also called J trim, is used where the end of a gypsum panel remains visible or terminates against another finish. Its return leg captures the panel edge while its face flange provides a consistent surface for finishing. The result is a straighter, more durable edge than an unprotected cut end.
This guide explains where J bead belongs, how it compares with L-bead and corner bead, what to specify, and how to install and inspect it. The advice is intended for contractors, finishers, estimators, designers, and project teams coordinating drywall with steel framing.
- Identify the situations that call for J bead rather than another trim.
- Match the profile to 3/8-inch, 1/2-inch, or 5/8-inch gypsum board.
- Compare vinyl, galvanized steel, and aluminum options by application.
- Install the trim with a straight reveal and a controlled skim coat.
- Use a practical quality-control checklist before primer and paint.
For broader coordination between finishing accessories and framing members, review the metal framing systems guide before finalizing takeoffs and submittals.
What is drywall J bead?
Drywall J bead is a J-shaped casing or edge-finishing accessory designed to finish exposed drywall ends. The channel-like return fits over the cut edge of the gypsum panel, while the flange sits on the board face. The flange can then be skimmed and feathered so the transition is straight and ready for primer and paint.
J bead is especially useful at window and door returns, open-ended partitions, soffits, niches, access panels, and drywall-to-frame or drywall-to-storefront transitions. It caps the vulnerable gypsum edge, hides small cutting irregularities, and establishes a repeatable line for the finisher.
- Edge protection: the profile helps shield gypsum from abrasion and minor impact.
- Visual control: a manufactured flange creates a more consistent stop than a hand-finished cut edge.
- Finishing efficiency: the flange normally receives a light skim rather than a built-up mass of compound.
- Design flexibility: the trim can create either a flush termination or a deliberately specified narrow reveal.
Current Canadian drywall documentation recognizes J bead as an accessory for exposed panel ends. Project specifications should still control the required material, base thickness, profile dimensions, finish, and installation method. Availability and exact dimensions should be confirmed with the supplier before ordering.
Why use J bead on a drywall edge?
An uncapped gypsum edge can chip during subsequent trades, cleaning, maintenance, or ordinary use. It can also produce a visibly uneven line when viewed under strong corridor, lobby, or window lighting. J bead gives the crew a defined edge to align, finish, inspect, and repaint.
The trim is not a substitute for correct framing or movement detailing. It works best when the substrate is straight, the board is properly supported, and the termination has been coordinated with adjacent frames, millwork, glazing, and ceiling conditions.
Benefits for finishing crews
- A consistent flange reduces the need to build up compound over an irregular edge.
- A protected edge is less likely to fray or crumble during sanding and painting.
- Repeated profiles make openings and access panels easier to set out consistently.
- A defined reveal makes defects easier to identify before the final coat.
Benefits for project coordination
Specifying the same edge detail across similar rooms can reduce field improvisation. It also makes submittals, mockups, takeoffs, and punch-list inspections more straightforward. In Vaughan-area commercial and residential work, the detail can be coordinated with steel studs, tracks, channels, and opening frames as part of one framing package.
How J bead differs from L-bead and corner bead
The key decision is whether the gypsum edge is exposed, whether the location is an outside corner, or whether the board simply abuts another material. J bead is primarily an exposed-edge termination. L-bead is generally used to finish an abutment with a feathered edge, while corner bead protects and forms an outside corner.
| Trim | Main purpose | Typical location | What to verify |
|---|---|---|---|
| J bead or J trim | Caps an exposed drywall end | Returns, open ends, soffits, access panels | Board fit, reveal, flange finish |
| L-bead | Finishes an abutment with a feathered edge | Gypsum meeting another surface where the edge is not capped | Transition line and finish depth |
| Corner bead | Forms and protects an outside corner | External wall corners and projections | Corner geometry and impact exposure |
| Casing bead | Creates a defined stop at a plaster or finish transition | Plaster, stucco, and framed finish transitions | Specified reveal and substrate compatibility |
Use a dedicated 90° or 130° corner bead where an outside corner needs corner geometry and protection. Do not use J bead to bridge a control or expansion joint; movement locations require a detail designed to accommodate movement.
Types, materials, and specification decisions
Specify J bead by more than its name. The important variables are board thickness, material, flange or face width, reveal, base thickness, finish compatibility, and the fastening or adhesive method permitted by the product documentation.
Board thickness and profile fit
Common profiles are sized for 3/8-inch, 1/2-inch, or 5/8-inch gypsum board. Select the profile marked for the actual board thickness. A loose profile can leave a visible gap and move during finishing; an undersized profile can crush the board edge or distort the flange.
Material selection
- Rigid vinyl: useful where corrosion resistance and some tolerance for minor substrate variation are priorities.
- Galvanized steel: appropriate where a metal trim is specified or additional rigidity is desired. Confirm the required coating and finish system.
- Aluminum: may suit a crisp architectural appearance or a specialty condition, but the primer and paint system must be compatible.
Canadian specifications commonly identify casing accessories such as L and J beads by the applicable accessory standard and required base thickness. Treat that requirement as a project control, not as permission to substitute an unapproved profile. The current supplier cut sheet should govern dimensions, tolerances, and installation instructions.
Reveal and finish level
Decide early whether the edge will be flush or will form a small shadowline. A narrow, intentional reveal can emphasize a window, storefront, or millwork junction, but it must be shown in the detail and carried consistently through the opening. The specified drywall finish level also affects how much of the flange is skimmed and how closely it will be inspected under raking light.
When metal framing is part of the assembly, coordinate the trim with light gauge steel studs and the board layout. Framing that is out of plane will make even a correctly installed J bead appear wavy.
Where to use drywall J bead
Use J bead when a cut gypsum edge will remain visible or needs a defined, protected termination. Common applications include window and door returns, recessed niches, open partition ends, soffit and cloud-ceiling edges, access-panel perimeters, and transitions to frames or storefronts.
Good applications
- Drywall ending at a door or window frame without casing.
- Open ends of partitions where the board edge is visible from the room.
- Access openings that need a repeatable, paint-ready perimeter.
- Drywall terminating at a material with a deliberately controlled reveal.
Conditions that need another detail
- Use corner bead at an outside corner rather than forcing J bead to form one.
- Use L-bead where a feathered abutment, not an exposed-edge cap, is required.
- Do not bridge movement, control, or expansion joints with a rigid J profile.
- Use a heavy-duty guard or a project-specific protection detail in severe-impact locations.
For the framing at corners and intersections, coordinate the trim with the project’s metal-stud layout. The guidance on framing corners with metal studs can help crews resolve the supporting geometry before board installation.
How to install J bead
Installation should produce a snug fit, a flat flange, and a continuous reveal. Follow the selected product’s instructions for adhesive, fasteners, spacing, and finishing; the sequence below is a practical field workflow rather than a substitute for the project specification.
- Confirm the substrate: check that the framing and gypsum edge are straight, supported, and free of loose paper or protruding fasteners.
- Match the profile: verify that the J bead is sized for the installed board thickness and that the material is approved for the location.
- Measure and cut: cut the profile accurately with appropriate shears, snips, or a utility knife. Remove burrs and avoid crushing the return.
- Dry-fit the piece: place it over the edge and inspect the reveal at both ends, corners, frames, and intersections before fastening.
- Secure the flange: use the approved staples, screws, or adhesive. Keep the flange flat and do not overdrive fasteners or distort the trim.
- Apply compound sparingly: skim over the flange and feather the edges. Building a thick ridge creates unnecessary sanding and can telegraph under paint.
- Sand and inspect: use a flat sanding block and check the line with a straightedge or grazing light.
- Prime and paint: use a compatible primer for the selected vinyl or metal surface and test the complete coating system on an offcut when required.
Crews comparing edge-trim methods can also review how metal corner beads are installed; the fastening and finishing principles are related, but the profiles serve different locations.
Quality checks and common mistakes
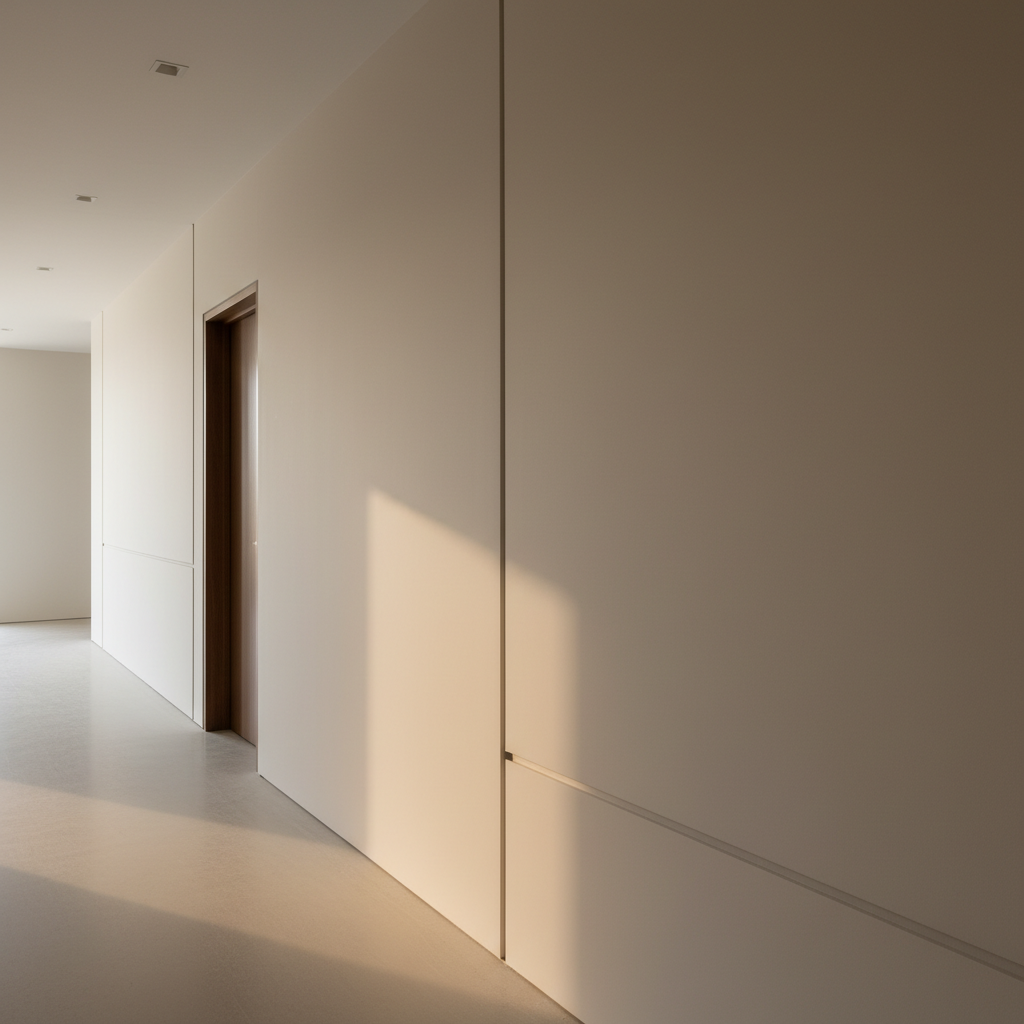
Inspect J bead at three points: after dry-fitting, after the first compound coat, and before final paint. Use the approved drawings and mockup as the acceptance reference, especially where the project specifies a particular reveal or finish level.
What to inspect
- Profile fit: the return captures the board without a gap, crushing, or rocking.
- Line and reveal: the edge follows the intended datum and remains consistent through the opening.
- Fastening: the flange is secure and flat, with no popped or overdriven fasteners.
- Compound: the skim is thin, feathered, and free of ridges, pinholes, or visible waves.
- Coating: primer and topcoat adhere to the actual trim material and do not flash differently from adjacent wall areas.
Frequent installation errors
Ordering the wrong profile for the board thickness is one of the easiest errors to prevent. Other common problems include fastening too close to the edge, crushing a vinyl return, overbuilding the flange with compound, and installing a rigid trim across a movement joint.
On steel-framed work, check the underlying alignment before blaming the trim for a wave. A correctly sized J bead cannot correct an out-of-plane stud, poorly supported board edge, or frame that was installed outside the required line.
Coordination, tools, and submittals
Basic tools include suitable shears or snips, a utility knife, a taping knife, a fastening tool where required, a sanding block, and a straightedge or raking light for inspection. Keep the tools clean so they do not mark the face flange or contaminate the primer surface.
Coordinate the complete framing package
Order finishing trims with the framing components rather than treating them as a last-minute accessory. A takeoff that includes 16 gauge metal studs, tracks, channels, clips, and the required J profiles gives the site team a clearer package and reduces substitutions.
Where a partition must accommodate structural movement, coordinate the ceiling and head-of-wall detail separately. A slotted deflection track guide can help the design and installation team address movement at the framing interface; J bead should not be used to conceal or restrain that movement.
Useful submittal information
- Product data and profile drawings showing board fit and dimensions.
- Material, coating, finish, and compatibility information.
- Installation instructions, permitted fasteners, and adhesive requirements.
- Relevant accessory classifications or standards named in the specification.
- Mockup photographs and acceptance criteria for reveals and paint finish.
J bead installation checklist
Use this short checklist before releasing an edge for final painting:
- Profile matches the installed gypsum thickness and approved submittal.
- Material and coating suit the exposure and coating system.
- Dry-fit confirms a snug return and continuous intended reveal.
- Flange is flat, secure, and free from crushed sections or fastener distortion.
- Compound is skimmed thin and feathered without a raised ridge.
- Movement joints remain free of rigid J bead.
- Surface is inspected under suitable lighting before primer.
- Primer and paint adhesion have been confirmed for the selected trim.
Local project coordination
Dass Metal Products is based at 370 New Enterprise Way in Vaughan, Ontario, and supplies steel framing and drywall finishing components for projects across Canada and the United States. For Vaughan-area projects, coordinating J trim with the framing takeoff can help avoid a separate delivery or an unplanned site substitution.
Frequently asked questions about drywall J bead
What is drywall J bead used for?
Drywall J bead is used to finish and protect an exposed gypsum-board end. It is common at window and door returns, open partition ends, soffits, niches, access panels, and controlled transitions to frames or other finishes.
What size J bead fits 5/8-inch drywall?
Select a J bead profile specifically labeled for 5/8-inch board. The return should capture the edge without a gap or crushing; the approved product data should control the exact fit and dimensions.
Should J bead be taped?
J bead normally receives a light skim coat over its face flange rather than drywall tape across the exposed edge. Keep the compound thin and feather it into the board, while following the product instructions and the project’s specified finish level.
Can J bead be used on an outside corner?
J bead is not the normal choice for an outside corner. Use a corner bead designed to form and protect that corner, and use J bead only where the detail is an exposed panel termination.
Can J bead cross a control or expansion joint?
No. A rigid J bead should not bridge a movement joint because movement can crack the finish or distort the trim. Use the dedicated movement-joint detail shown in the drawings and keep the edge termination compatible with it.
Choose and install J bead with the whole detail in mind
Drywall J bead is a practical solution for exposed gypsum edges, but its performance depends on correct profile fit, a straight supporting substrate, controlled fastening, and a compatible finish system. Use it for protected terminations, not as a replacement for corner bead, L-bead, or movement-joint products.
For a repeatable result, confirm the board thickness and material first, define the reveal with the design team, dry-fit every run, skim lightly, and inspect under the lighting that will expose defects. Coordinating the trim with the complete steel framing package helps crews move from framing to finishing without avoidable substitutions.
Coordinate your J trim package
Review the Dass Metal J Trim product information when preparing a drywall finishing schedule, and confirm profile dimensions and availability against the current project specification before ordering.